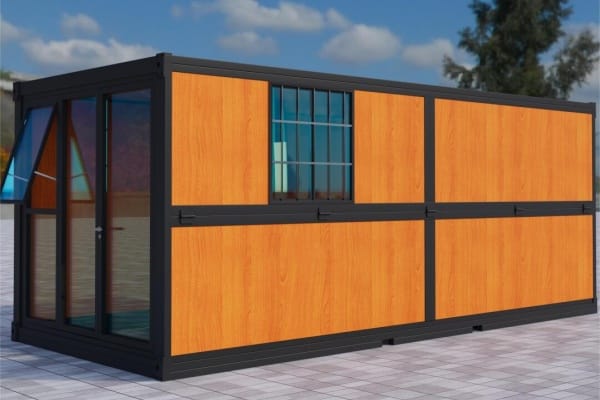
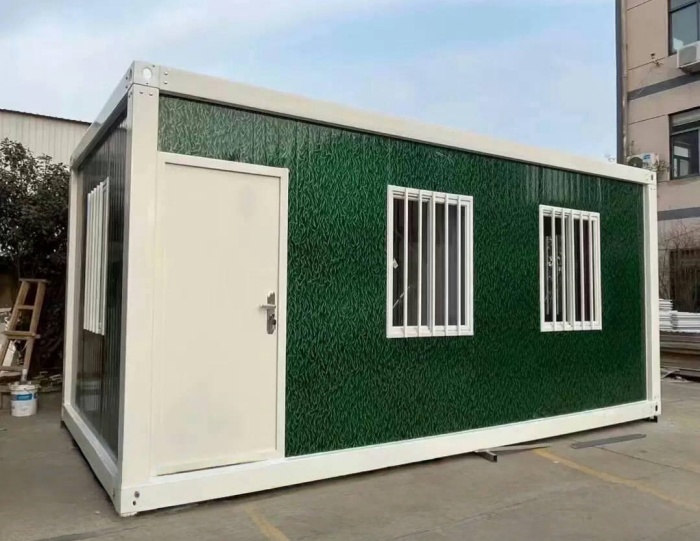
What Is a Detachable House?
A detachable house is a flexible and modern housing solution designed for quick installation, relocation, and reuse. It offers durability, comfort, and cost efficiency, making it suitable for both temporary and long-term applications.
This guide explains how to install and dismantle a detachable or folding modular house safely. Follow the step-by-step instructions for smooth assembly and efficient workflow.
Step 1: Pre-Installation Checks
Before installation begins, conduct a full site and material check to ensure safety and accuracy. Proper preparation reduces delays and prevents errors during construction.
1. Verify foundation type, level, diagonals, and anchor layout
Ensure the foundation matches the design plan, confirm diagonal measurements for squareness, and check that anchor points are positioned correctly. Also confirm site access for cranes and delivery trucks.
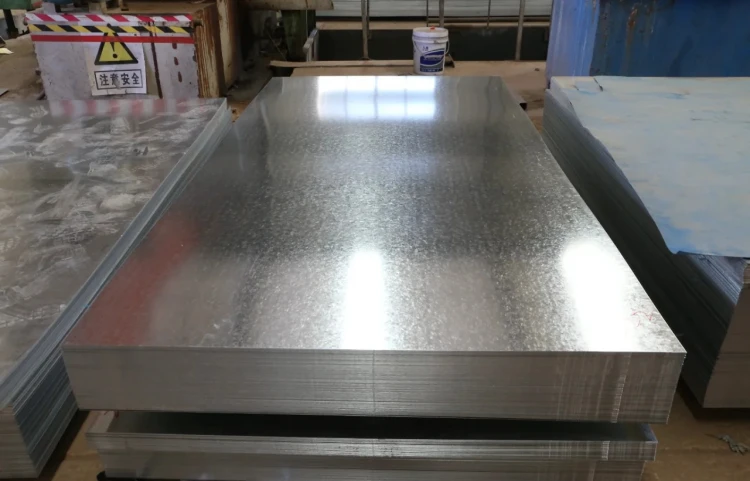
2. Count all structural materials
Check columns, beams, wall panels, roof panels, trims, and anchors. Inspect for missing or damaged parts to avoid delays during assembly.
3. Prepare fasteners and sealing materials
Ensure availability of high-strength bolts, self-tapping screws, sealing washers, butyl tape, and sealant. Organize materials for quick access.
4. Tools and safety equipment
Required tools include a torque wrench, impact driver, laser level, PPE, and lifting slings. Inspect equipment for safe operation.
5. Prepare documentation and work crew
Have structural drawings, anchoring details, and torque tables ready. A 4-person team with defined roles improves coordination.
Step 2: Fix Modules Using Preset Connection Points
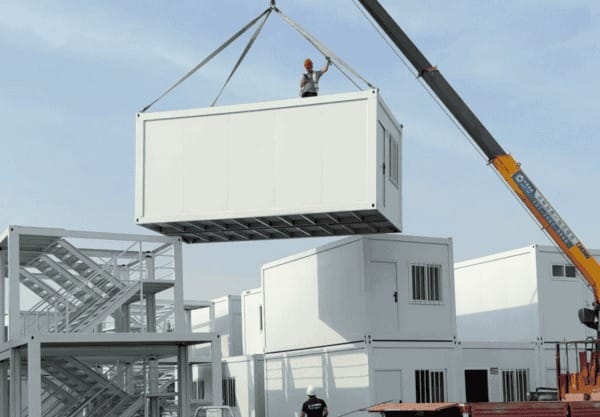
Begin by placing the base frame on the foundation. Confirm line and level accuracy, insert columns into preset holes, and add temporary bracing to maintain stability.
Lightly tighten bolts at this stage to allow alignment adjustments. Final tightening should be completed after full module positioning.
Step 3: Connect the Frame with High-Strength Bolts
Install and align top beams, insert high-strength bolts, and tighten to specified torque. Record torque values in a log. Add reinforcement frames before cutting openings for doors and windows. Use certified connectors for stacking multi-layer structures.
Step 4: Install Wall and Roof Panels
Start from the corners outward when installing wall panels. Use sealing washers and butyl tape at every joint. Lay roof panels according to water drainage direction and install ridge, eave, and corner trims.
Perform a hose test and seal any gaps to prevent leaks.
Dismantling Steps
Dismantling requires slow, controlled steps to prevent damage and ensure components can be reused.
1. Disconnect power and water
Shut off all utilities and ensure no wires or pipes are connected.
2. Remove trims and hardware
Remove trims, locks, and fittings from roof and wall edges to allow clean panel removal.
3. Remove roof and wall panels
Take off roof panels first, then walls. Protect edges and bundle panels for transport.
4. Loosen the frame
Loosen bolts gradually and keep temporary bracing until final disassembly to prevent collapse.
5. Remove connectors and label parts
Detach anchors and corner joints. Label all parts and pack components into marked boxes for future reassembly.
Important Notes & Safety Cautions
Install reinforcement frames before cutting large openings.
Use specified bolt torque and maintain a torque log.
Anchor structures based on wind load and soil conditions.
Seal panel laps properly using sealing washers.
Ground the steel structure to the electrical system for safety.
Conclusion
Detachable modular houses offer quick installation, flexibility, and long-term usability. By preparing materials, following structured assembly steps, and dismantling components carefully, you ensure safety, durability, and easy relocation.
Whether used for housing, work sites, or temporary shelter, proper installation maximizes performance and lifespan.
👉 Contact us for floor plans, pricing, and custom designs.
📩 Email: besthouse@besteelstructure.com